Indigo Web Server Certificates
In this guide
How to configure browsers and HTTP clients (such as Node-RED) to accept the Indigo Web Server's self-signed SSL certificate for local HTTPS connections. Covers locating the certificate files in the Web Assets folder and configuring TLS settings in third-party tools.
Node Red Example
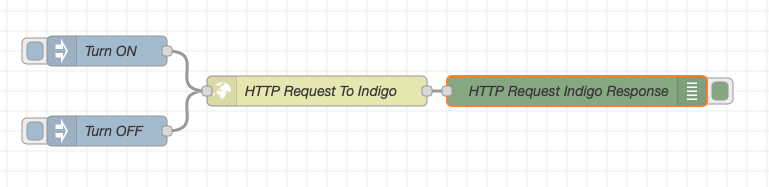
The following example shows how to configure a Node Red flow that uses the Indigo Web Server (IWS) API to operate a lamp device. The example is only meant to show how to use a self-signed certificate and public key to enable the flow to connect to the IWS using *https* instead of *http* when using the IWS on a local network via *10.0.1.123*, *127.0.0.1*, or *localhost* (using the API via the Indigo Reflector Service uses a different CA-approved security certificate and the flow is configured the same as it would be using any API via *https*).
Using the flow via *https* requires a few settings. Enter the preferred URL to point at the local IWS address *10.0.1.123*, *127.0.0.1*, or *localhost* with the URL:
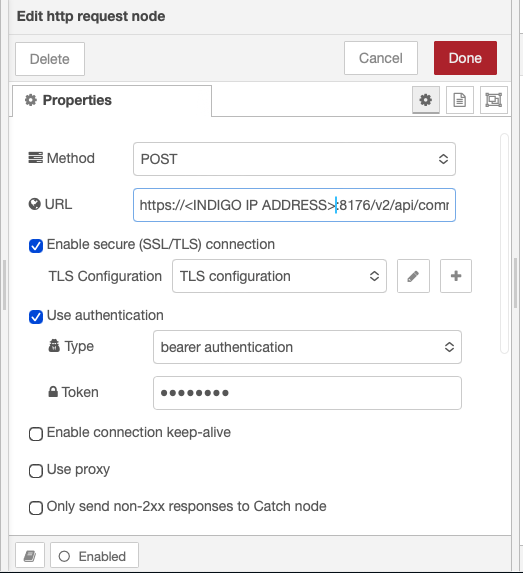
select TLS, and use bearer authentication along with a valid token key (from your Indigo Account Authorizations).
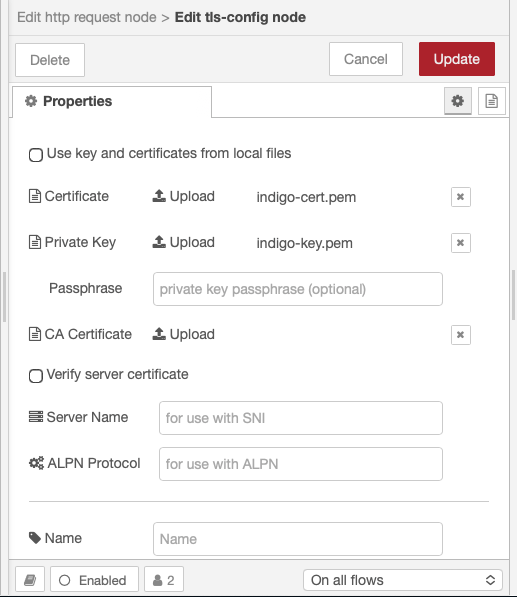
Then, use key and certificates from local files and point them to the certificate and public key files located in
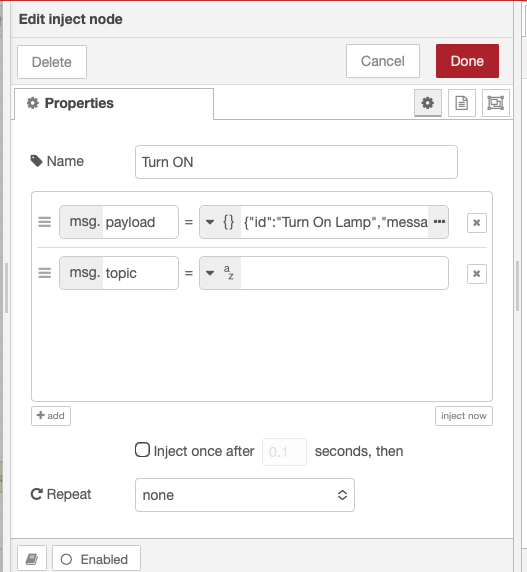
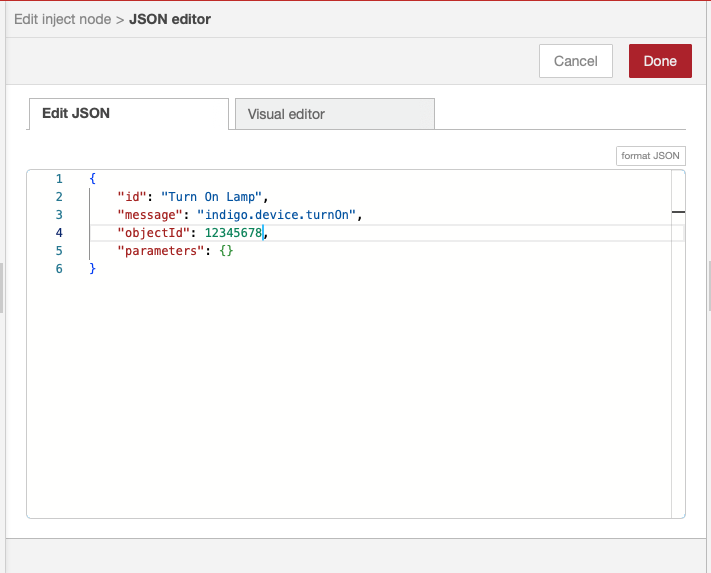
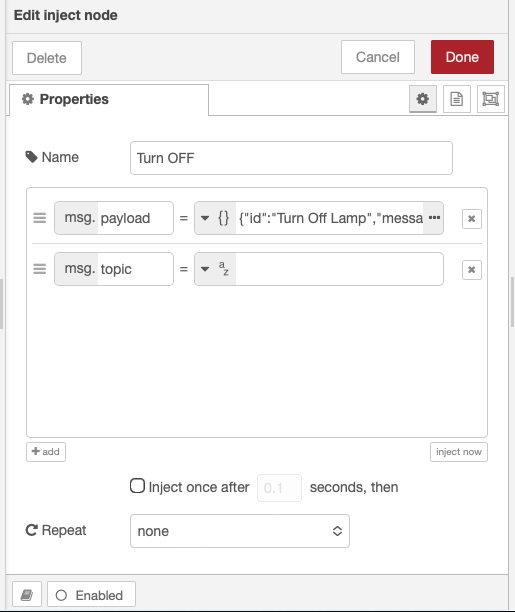
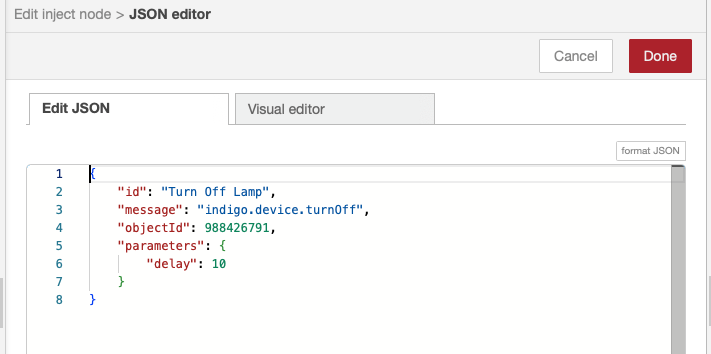
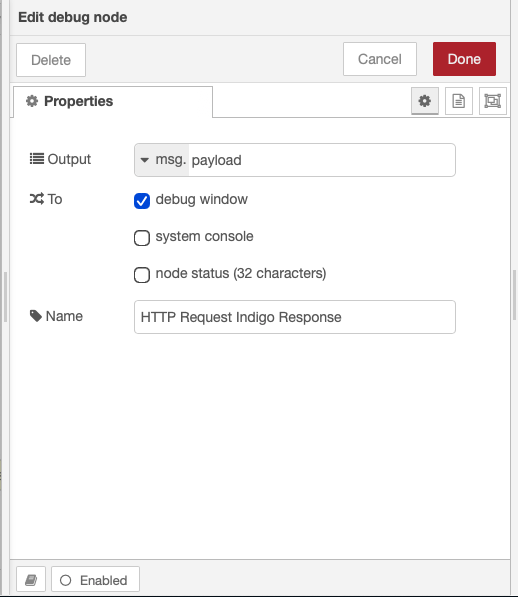
Several other screenshots complete the example:
|  |
| --- | --- |
|
|
| --- | --- |
|  |
|
|
|  |
|
|
|  |
|
|
|  |
|